
Technical Sheet :
- Genre: Post-processing demo
- Creation Date/Duration: 2023, 2 weeks
- Platforms: Windows
- Tools: Unreal Engine 5
- Project Summary: After watching a video by Useless Game Dev in which he implements the art style of illustrator Jean “Moebius” Giraud in the Unity engine, I wanted to recreate that same visual style—this time in Unreal Engine 5. I managed to achieve a satisfying result after two weeks of work, drawing inspiration from the techniques explained by Useless Game Dev and from the visual style achieved by Shedworks in their game Sable.
- Team Members: Solo, with advice from a technical artist working at Epic Games
- Project Goal : Reproduce a “comic-book” style in a 3D environment.
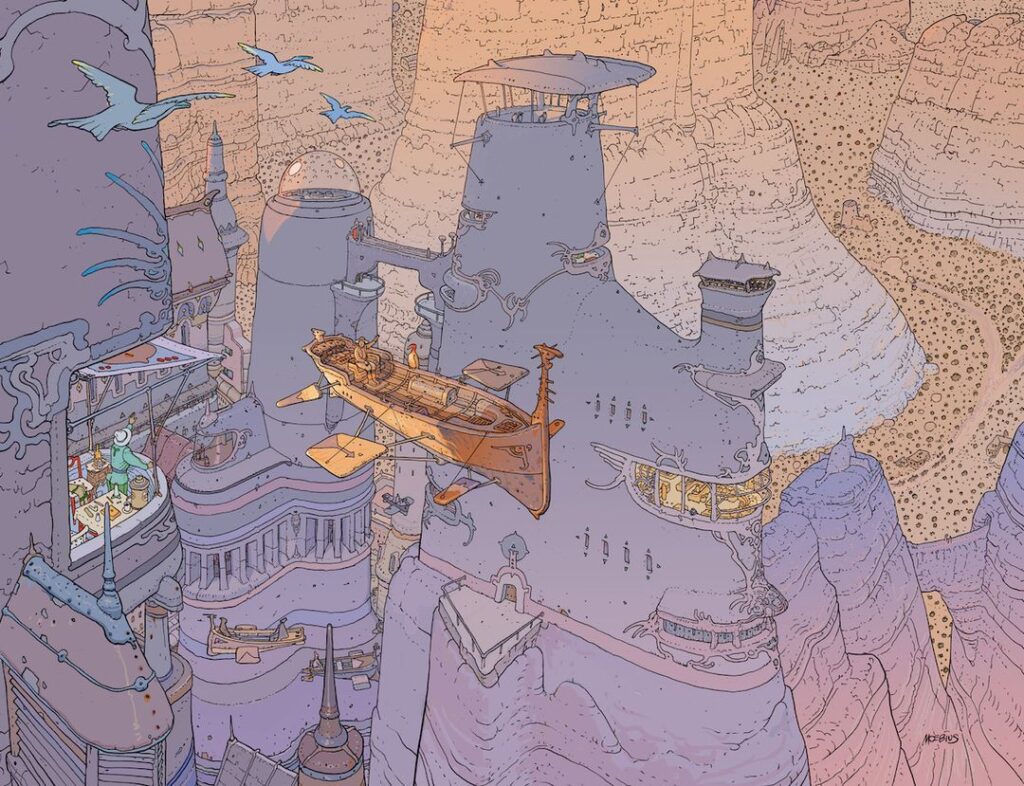
Jean Giraud, better known as “Moebius,” was a French comic book artist and writer, renowned for his unique drawing style and highly original worlds, particularly in the science fiction genre. Among his many works, some of the most notable include The Incal, Arzach, The World of Edena, and several volumes of Blueberry.
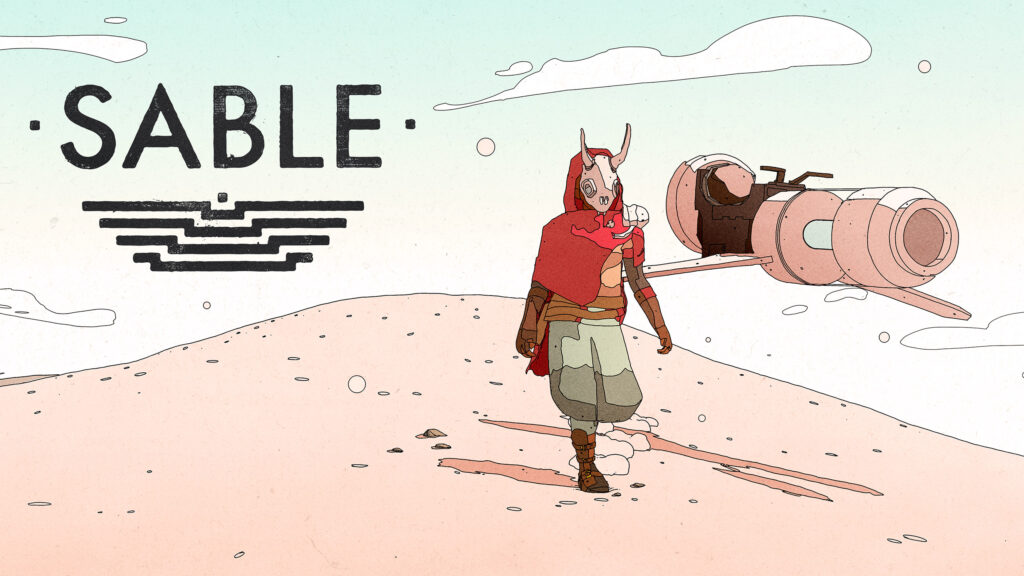
In September 2023, I stumbled upon the game Sable, developed by the studio Shedworks. Created in the Unity engine, this game impressed me with its artistic direction. Heavily inspired by Moebius’ universe and artistic style, Sable allows players to explore a world drawn with clean lines, simple colors, and cross-hatched shadows, reminiscent of comic book illustrations. Inspired by their creative achievement, I decided to recreate this visual effect myself, but this time in Unreal Engine 5 (UE5).
I was lucky because just a few months earlier, a video by the YouTuber Useless Game Dev had been released on this exact topic. He had recreated the same effect as Shedworks in Unity and explained in detail the various techniques he used in his video.
1. Creating the Outline Effect
I started with the basics: outline detection. To achieve this, I used the Sobel filter, a well-known operator for edge detection.
Simply put, for each pixel on the screen, the colors of the surrounding pixels are multiplied by a 3×3 matrix. The Sobel filter applies the following matrix:
| -1 | 0 | 1 |
| -2 | 0 | 2 |
| -1 | 0 | 1 |
to detect vertical edges, and this matrix:
| -1 | -2 | -1 |
| 0 | 0 | 0 |
| 1 | 2 | 1 |
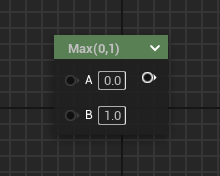
to detect horizontal edges. Then, we use a max node to determine which value is the most prominent.
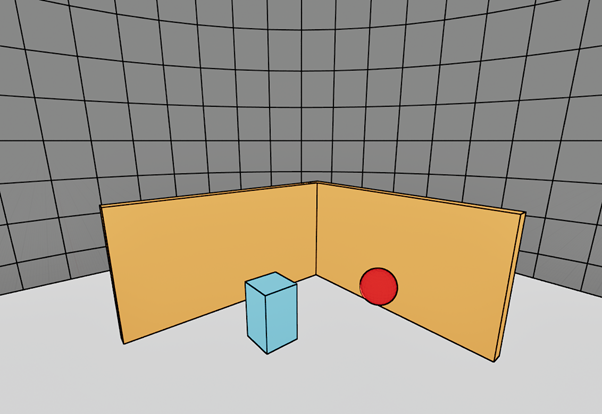
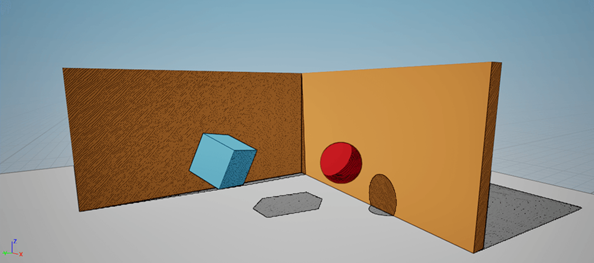
When applying this filter to the Scene Texture: Normal in a post-processing material, the result for this base scene :
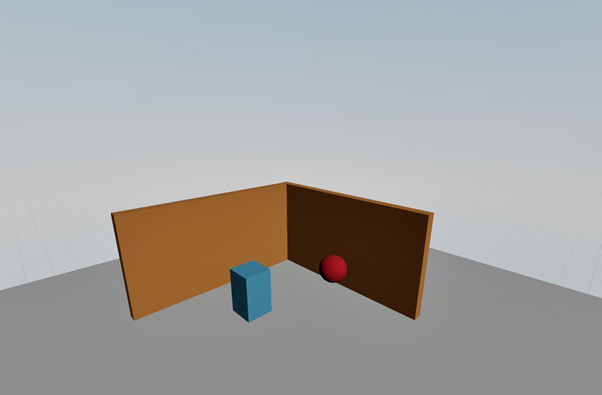
looks like this:
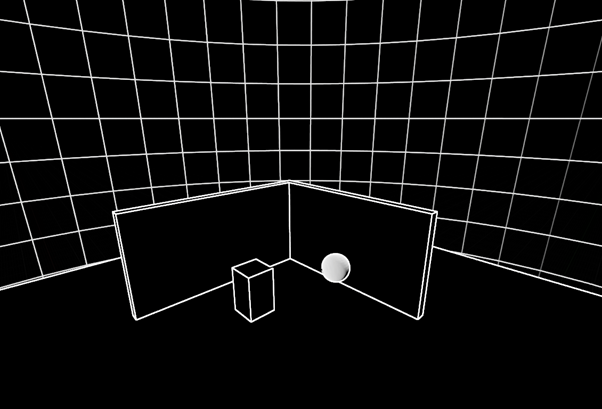
However, the outline is not perfect, especially for the sphere.
2. Improving the Outline with Depth Information
To refine the result, I applied a second filter, this time using Scene Texture: SceneDepth. Instead of applying the Sobel filter again, I used the Laplacian filter.
Unlike Sobel, the Laplacian filter only needs to be applied once, as it uses a single matrix:
| -1 | -1 | -1 |
| -1 | 8 | -1 |
| -1 | -1 | 1 |
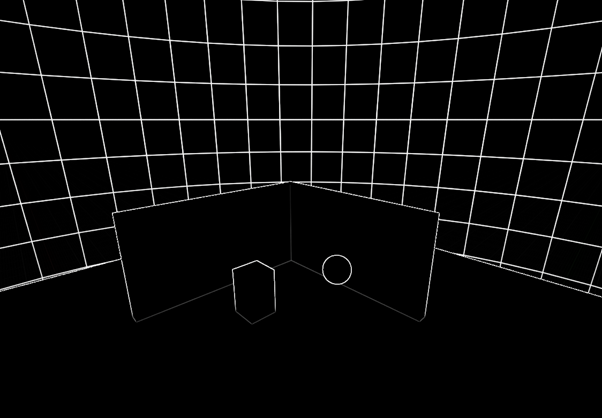
The same calculation is performed as with the Sobel filter: each pixel is multiplied by its corresponding value in the matrix. In this case :

The result looks like this:
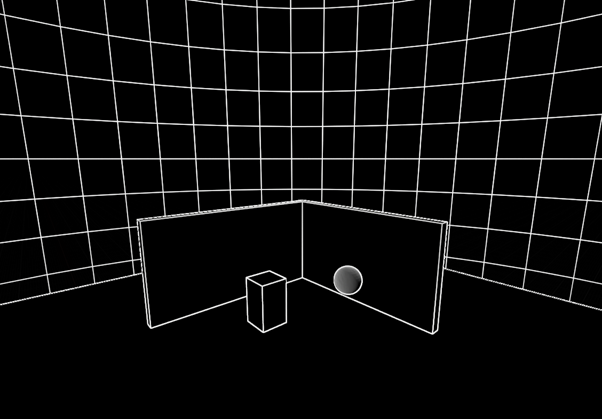
Next, I combined both filters—the Sobel filter on normal values and the Laplacian filter on depth values—using another max node.
3. Applying the Outline Effect
To finalize the outline effect, I used a lerp (linear interpolation) between the Scene Texture: Diffuse Color and the desired outline color, using the combined filter result as the alpha value.
This produces the following effect:
4. Adding Hatching Shadows
The last step was to integrate shadows. To determine whether a pixel is in shadow or not, I used Scene Texture: PostProcessingInput0.
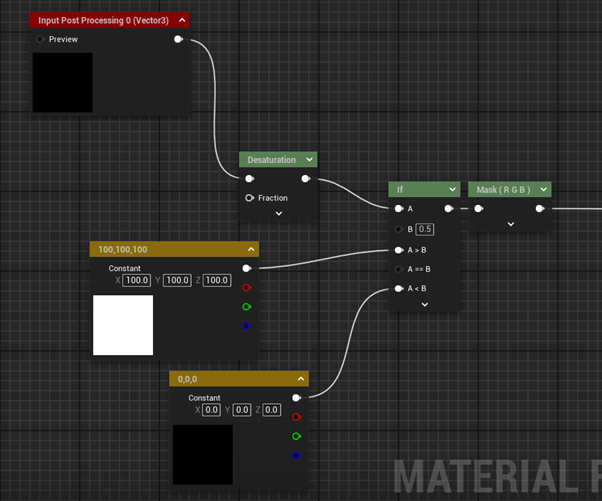
Then, I applied a lerp between the diffuse color and a hatching texture, which produced this result:
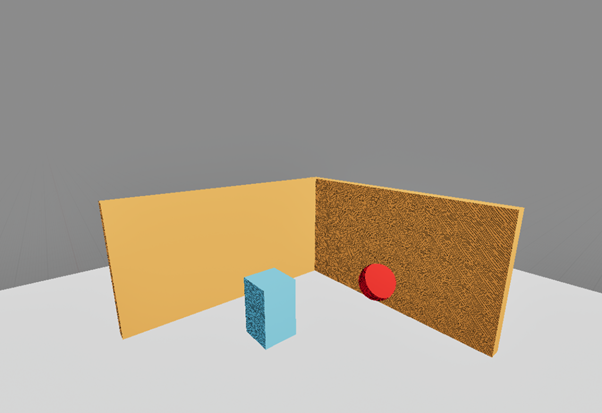
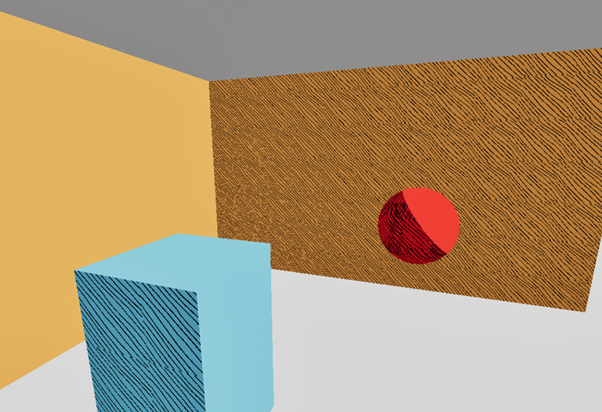
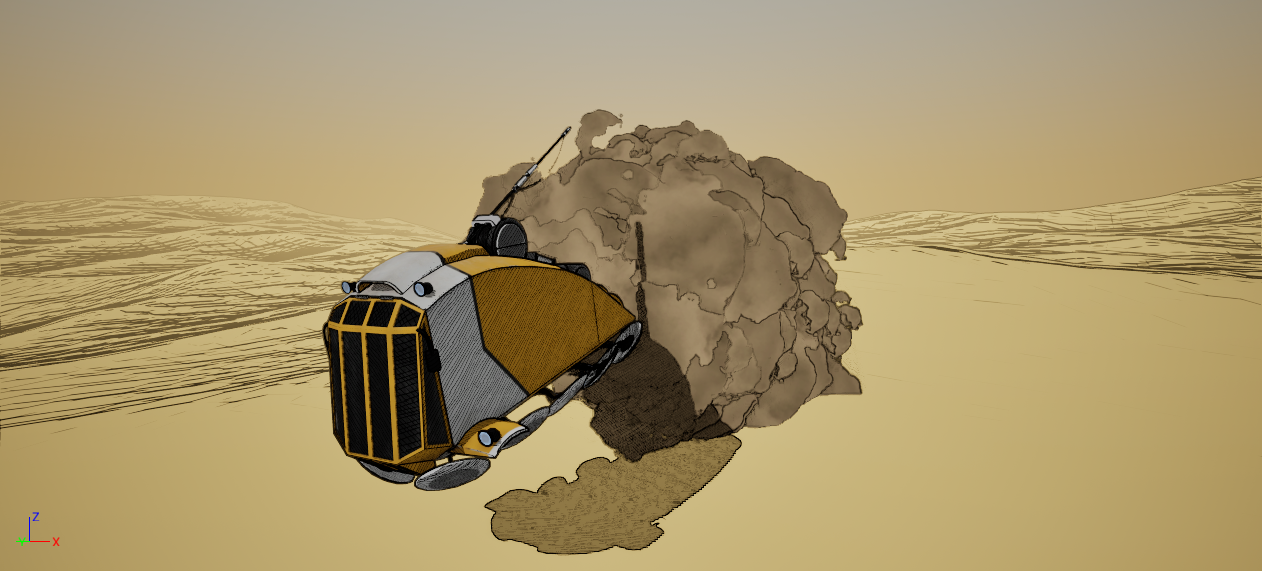
Finally, after adding the skybox and the outline effect from earlier, here is the final result:
Final Notes
I am still a beginner in the field of shaders. This description simply reflects my approach, and I cannot guarantee that this technique will work in all cases.
The demo project can be downloaded from here : https://github.com/Windokk/MoebiusShaderTest
Credits :
“Levitating Utility Vehicle” (https://skfb.ly/6yG7L) by Fantom Matter is licensed under Creative Commons Attribution-NonCommercial (http://creativecommons.org/licenses/by-nc/4.0/).
Leave a comment